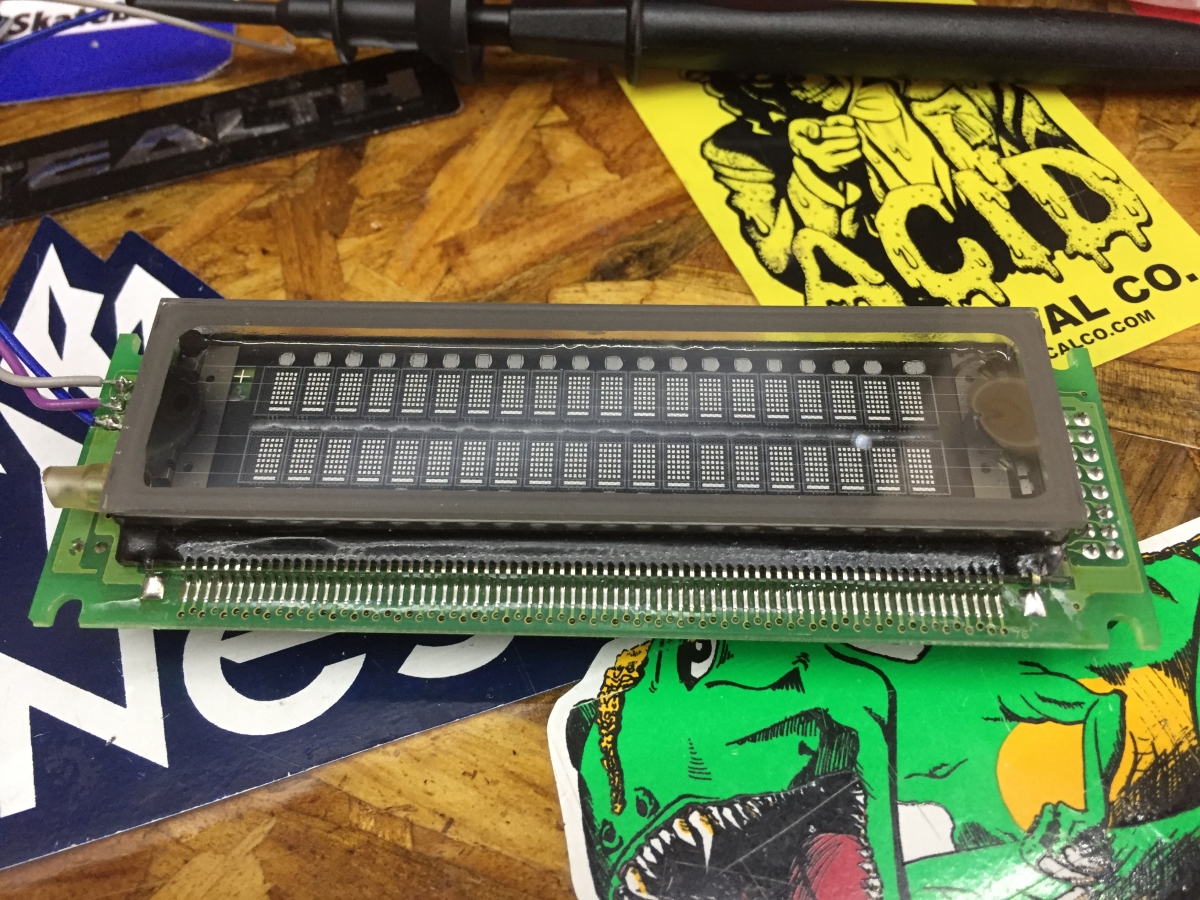
The VFD in its florescent blue glory.
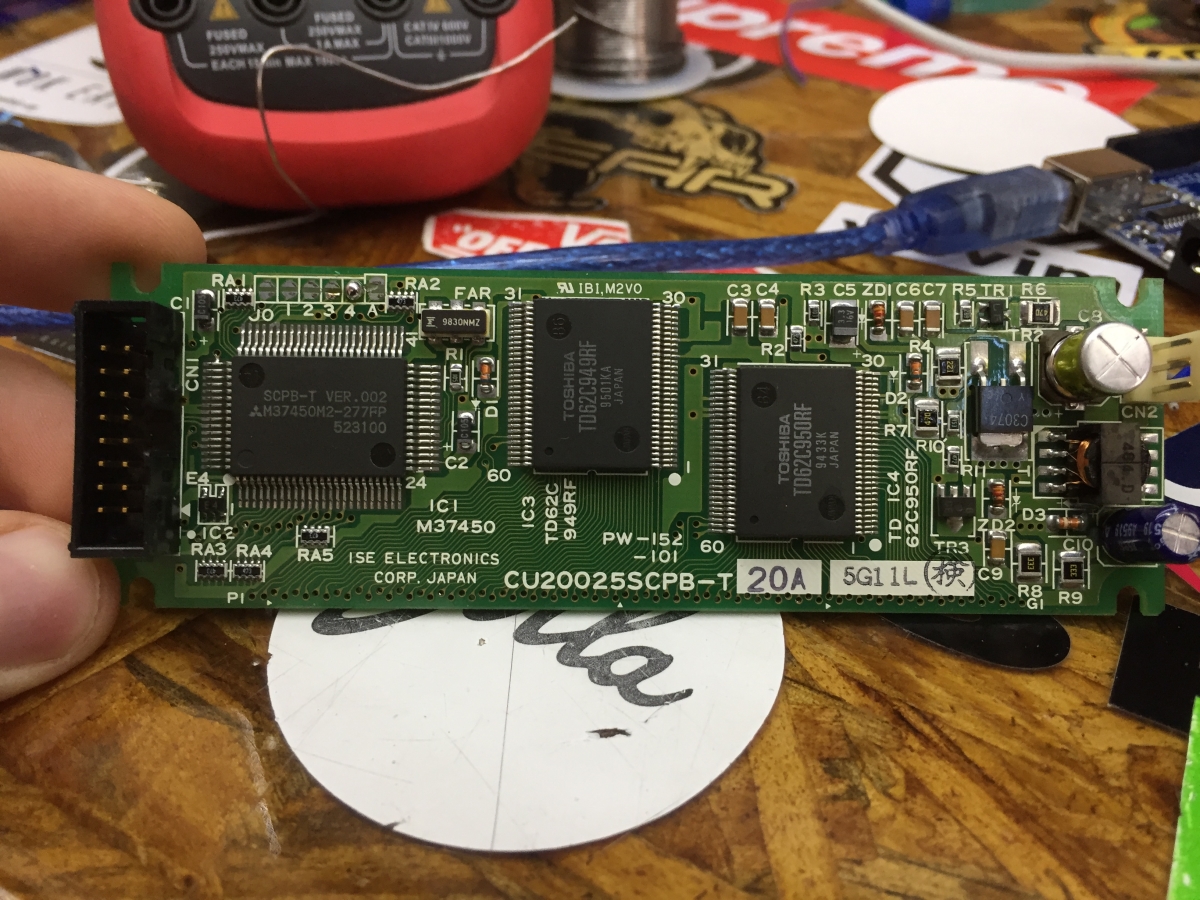
I was rummaging through some junk during my break from school and found some old audio equipment, complete with a VFD for a front panel. I have some spare time on my hands, so I set aside some time to try and get it working. Lo and behold, it’s a commercial module – a CU20025SCPB-T20A from Noritake Itron. This makes things way easier.
The best part about this display is the datasheet – it’s freely available on the web. It contains everything you need to know, including software commands plus hookup and voltage specs. This makes re-purposing the display much easier.
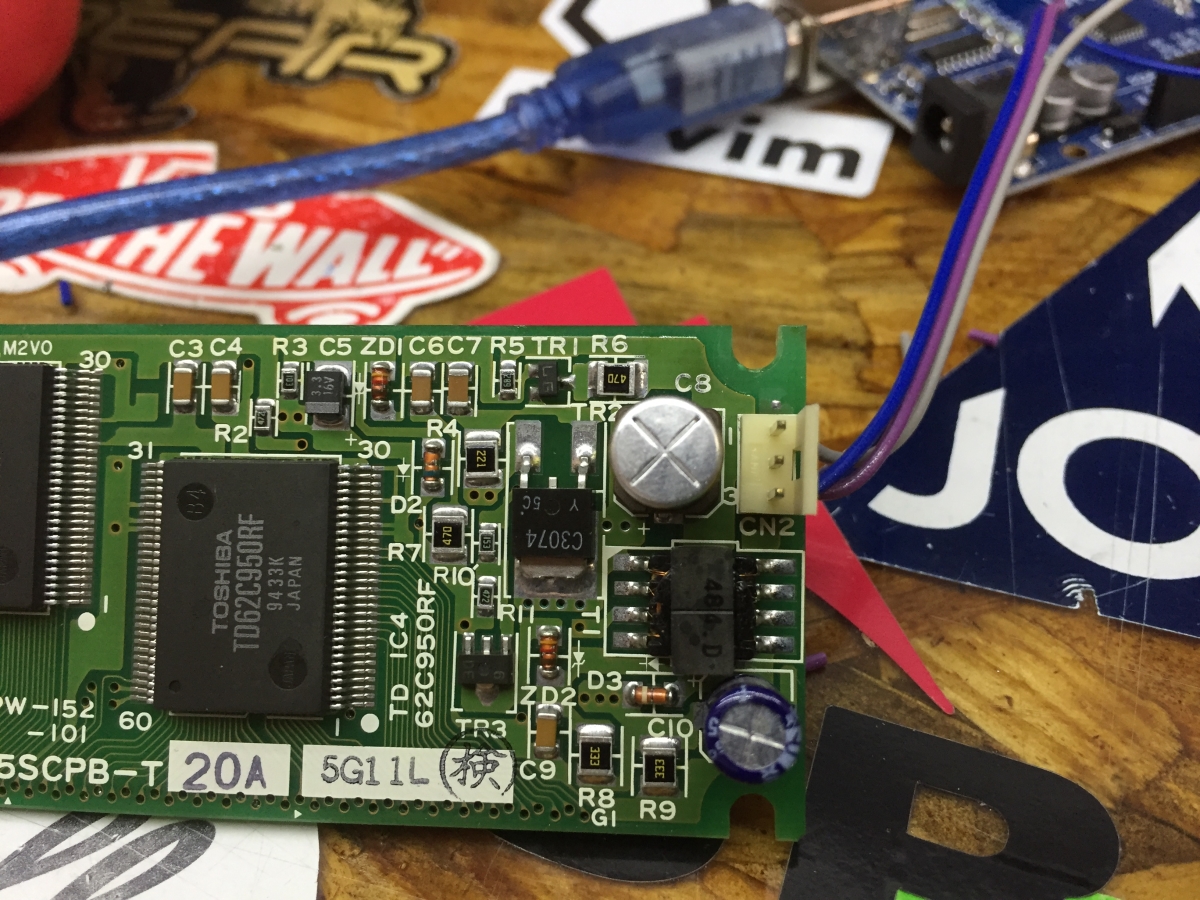
To get it working, you need to connect you microcontroller’s TX pin to the SIG pin on the VFD – it’s #2 on the white three-pin connector, or #3 on the IDC connector. You also need to connect to a decent 5V supply – my VFD uses around 250mA, although the datasheet specs it at up to 320mA. You also need to connect the grounds if using an external supply.
On the software side, it’s equally simple. Noritake Itron provides a dedicated library, but there’s no real point in using it, as it’s incredibly easy to set it up yourself. This is my C++ code which I uploaded to the Arduino via platformio.
#include <Arduino.h>
#include <SoftwareSerial.h>

SoftwareSerial VFD(6,7); // RX, TX

void setup()
{
 VFD.begin(19200);
}

void VFDclearscreen(void)
{
 VFD.write(0x0E); // clear the VFD
 VFD.write(0x0C); // move cursor to top left
}

void loop()
{
 for (int i = 23 ; i < 256; i++)
 {
   VFD.write(0x16); // turn that annoying little cursor off.
   VFD.write(i);
   delay(250);
 }
 VFDclearscreen();
}
This will print a looping string of characters to the display. Check out the data sheet for more interesting commands – font, cursor blink speed, scroll modes, brightness etc are all adjustable via serial.
Final result is viewable here.
To convert the commands in the datasheet into something nice for the arduino, replace the H in the command with 0x and move it to the front, i.e, 08H –> 0x08.


